
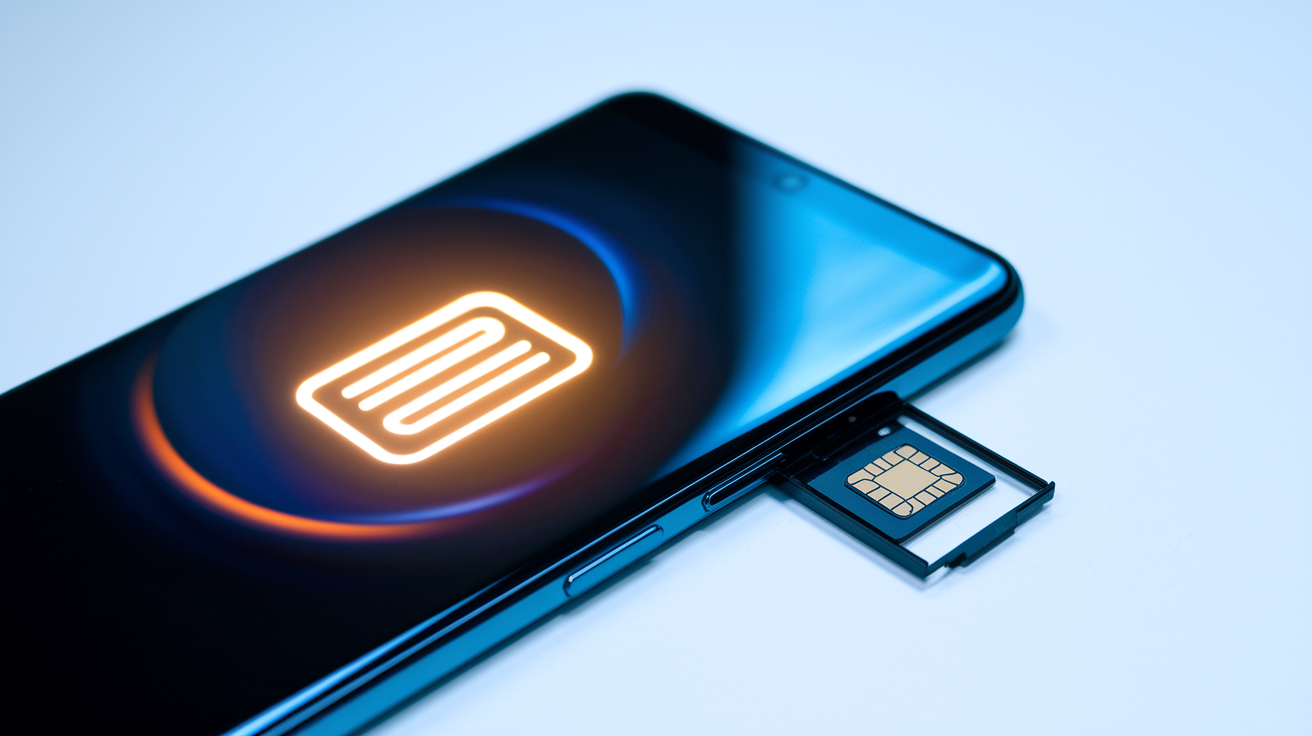
Controversial: eSIMs make the airport SIM counter largely obsolete for many travelers.
If you hop between countries, arrive late, or want data the moment you land, install an eSIM at home and flip it on after touchdown.
If you’re staying weeks in one place, need a local phone number for bookings, or want the lowest cost per gigabyte, buy a physical SIM from a city shop.
This post gives clear rules of thumb, step-by-step setup, and a simple cost check so you can pick the right option and avoid scrambling at the airport.
Core Guide to Choosing eSIM or Local SIM for International Travel
The basic decision breaks down this way: eSIMs work best for short trips, multi-country routes, and travelers who want connectivity the second they land. Local physical SIMs work best for long stays in one country, times when you need a local phone number, and budget trips where you’ve got time to visit a carrier shop. If you’re hopping between countries or arriving late at night, an eSIM installed before you leave means you step off the plane with data already running.
Setup friction is what really separates these options. With an eSIM, you buy a plan online, scan a QR code or install the profile through an app, and test it on your home Wi‑Fi before you go. On arrival, you flip a switch in your phone settings and data connects right away. With a local SIM, you’re waiting in an airport queue, showing your passport for registration, picking from limited plan options, paying airport markup prices, manually inserting the card, possibly wrestling with APN settings, restarting your phone multiple times, and hoping it connects. If your phone is eSIM-only with no physical tray, a local SIM isn’t even possible.
Most travelers burn through 3–5 GB in a typical week of maps, messaging, ride apps, and light browsing without streaming video. Background app usage eats data faster than you’d think, so build in a buffer.
| Option | Pros | Cons |
|---|---|---|
| eSIM | Install before travel; instant activation on arrival; works across multiple countries with regional or global plans; no physical card to lose; keeps home number active on dual-SIM phones | Many plans are data-only, no voice or SMS; not all phones support eSIM; digital setup can feel unfamiliar and occasionally gets tricky to troubleshoot |
| Local Physical SIM | Usually cheapest per GB; includes local phone number for bookings and confirmations; often delivers best local network performance in-country | Must visit shop or queue at airport; may require passport or ID registration; swapping removes home SIM and can break OTP or authentication; cumbersome for multi-country trips |
| Roaming (Home Carrier) | Ultimate convenience, just enable roaming in settings; keeps home number active; no setup beyond buying a travel pass if offered | Usually most expensive; risk of bill shock; variable speeds depending on partner networks; limited control over network choice |
If you need a local number for restaurant reservations, apartment check-ins, or work calls, a physical SIM is still the only realistic choice. If you just need data for apps and messaging, eSIM wins on speed and simplicity.
Activation Steps for Using an eSIM When Traveling Abroad

Activating an eSIM is a digital process you can finish before you leave home, which means you arrive with working data instead of scrambling at the airport. Most modern eSIM providers deliver instant setup through a QR code or in-app installation.
Verify your device supports eSIM. Check your phone’s settings under “Mobile Data” or “Cellular” for an option to add an eSIM or cellular plan. Most newer iPhones (XS and later), recent Pixel models, and many Samsung Galaxy phones support eSIM.
Purchase an eSIM plan online. Pick a provider that covers your destination countries. Regional plans work well for multi-country trips. Global plans cover over 100 countries. Prepaid plans let you buy exactly the data you need.
Receive your QR code or in-app profile. After purchase, the provider sends a QR code by email or makes the profile available in their app.
Install the eSIM profile on your home Wi‑Fi. On iPhone, go to Settings, Cellular, Add Cellular Plan and scan the QR. On Android, go to Settings, Network & Internet, SIMs, Add and scan or enter the activation code manually.
Label the eSIM clearly. Name it something like “Travel Data” so you can identify it easily when switching between profiles.
Keep the eSIM turned off until you land. Install and store the profile at home, but don’t activate it yet. Many eSIMs can be stored for up to two years before first use.
Turn on the eSIM profile after arrival. Enable the travel eSIM in your phone settings and choose it as your active data line. Turn off your home carrier’s data roaming to avoid accidental charges.
Test the connection. Open a browser or map app to confirm data is working. If it doesn’t connect right away, toggle airplane mode on and off or restart your phone.
Some eSIM plans require you to enable data roaming in your phone settings even though you’re using a prepaid travel plan, not true roaming. If you’re installing before departure, test connectivity on your home network if the provider allows early activation, or at least confirm the profile appears correctly in your settings. This five-minute check at home saves stress on arrival.
Setup Guide for Using a Local SIM Card Abroad

Buying a local SIM usually happens at the airport. Either from a carrier booth, a vending machine, or a convenience store near baggage claim. Airport SIMs cost more than city shops and offer fewer plan choices, but they’re right there when you land. If you have time and want better value, wait and buy from a carrier store in the city center the next day.
The purchase process typically requires showing your passport for registration, especially in countries with SIM registration laws. The counter staff will ask which plan you want (data only, data plus voice, tourist package), insert the SIM, and sometimes configure APN settings for you. If you’re buying from a vending machine or doing it yourself, you’ll need to handle setup manually.
Common setup steps:
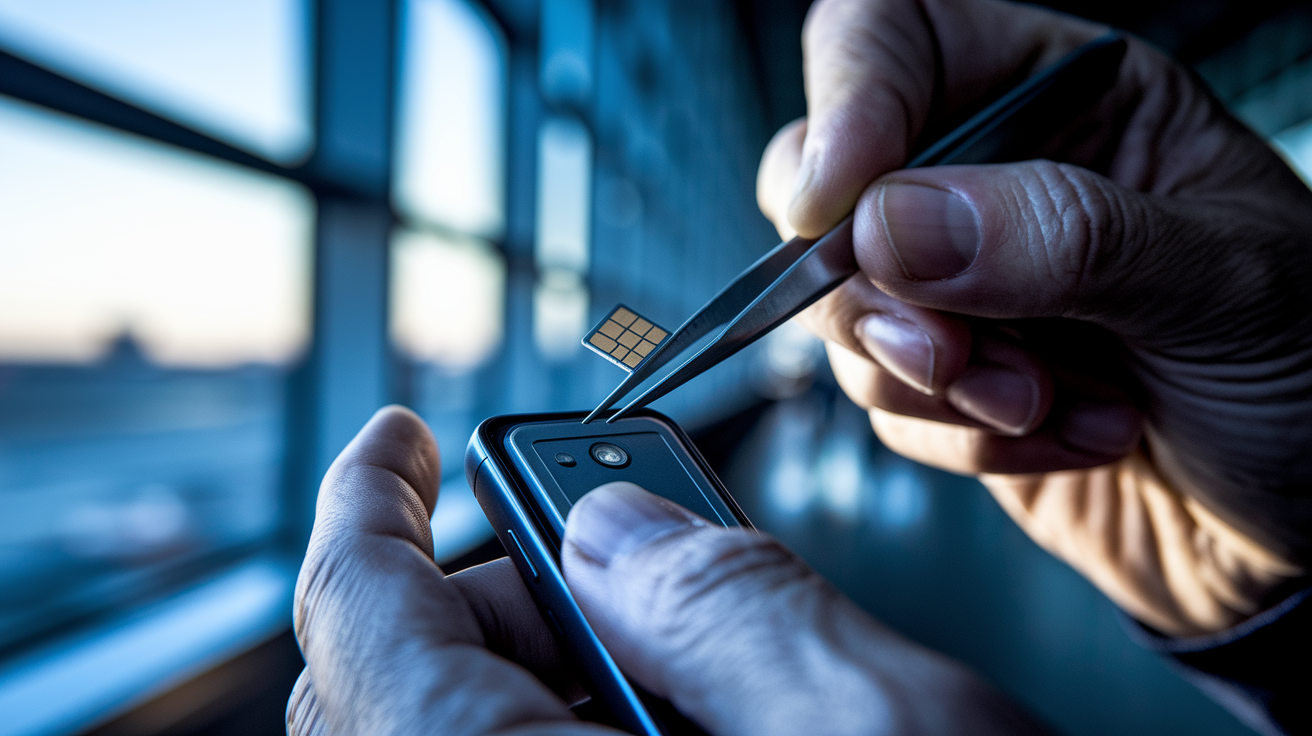
Verify your phone is unlocked and accepts foreign SIMs. Choose the correct SIM size (nano, micro, standard) or use the provided adapter. Power off your phone, swap the SIM, and restart. Wait for carrier registration and network signal. If data doesn’t work, manually enter the carrier’s APN settings (search “[carrier name] APN settings” or ask the shop). Restart again. Sometimes two or three restarts are required before data connects.
Physical SIM pitfalls add up quickly. If you remove your home SIM, store it safely. Losing it means losing access to your regular number and any two-factor authentication tied to that number. Some travelers tape their home SIM inside their passport cover. SIM cards are tiny and easy to lose in a hotel room or airport bathroom. If your phone is eSIM-only with no physical tray, you can’t use a local SIM at all. And if you’re visiting multiple countries, you’ll repeat this process at every border unless you buy a regional prepaid SIM in advance, which airport booths rarely offer.
Cost Comparison Between eSIM vs Local SIM for International Travelers
Local physical SIMs typically offer the lowest cost per gigabyte, especially if you’re staying in one country for weeks or months. A 30-day plan with 20 GB might cost $10–$15 from a local carrier’s city shop, while the same data on an eSIM could run $20–$30. But airport SIM prices erase that advantage. Expect to pay 30–50% more at the airport than in town, with fewer plan options and aggressive upselling.
eSIM pricing is transparent and prepaid, which makes budgeting simple. You pay upfront for a set amount of data (1 GB, 3 GB, 10 GB) valid for a fixed period (7 days, 30 days), and that’s it. No surprise charges, no leftover balance you can’t use. Regional eSIM plans covering multiple countries cost slightly more than single-country plans but far less than buying separate SIMs at each border. If you’re moving between eight European countries over two months, one eSIM beats buying eight local SIMs.
| Option | Typical Cost Pattern | Best Use Case |
|---|---|---|
| Local SIM (city shop) | $10–$20 for 10–30 GB; monthly plans; lowest per-GB cost | Long stays in one country; budget travel; need for local number |
| Local SIM (airport) | $20–$40 for 5–15 GB; tourist packages; markup pricing | Immediate need on arrival; short stay with no time to visit city shop |
| eSIM (regional or global) | $15–$50 for 3–10 GB; prepaid; works across multiple countries | Multi-country trips; short to medium stays; convenience priority |
| Roaming (home carrier) | $5–$15 per day or $0.01–$0.10 per MB without a pass; high risk of bill shock | Very short trips (1–3 days); emergency connectivity; home carrier includes free roaming |
One hidden cost of local SIMs is leftover balance. If you prepay for 10 GB and use only 7, that remaining 3 GB disappears when you leave the country. With some eSIM providers, unused data rolls over to your next trip if you return within the validity window, often up to two years.
Device Compatibility and Dual‑SIM Considerations for Travel

Not every phone supports eSIM. Older models and budget Android devices often lack the embedded SIM chip required for digital profiles. Before buying an eSIM plan, confirm your specific device model supports eSIM activation. On iPhone, check Settings, General, About, Digital SIM. On Android, the path varies by manufacturer, but look under Settings, Network & Internet, SIMs or Settings, Connections, SIM Manager.
Dual-SIM capability is a major travel advantage. Many modern phones let you keep your home number active on one line (either physical or eSIM) while using a travel eSIM for data on the second line. This setup means you can still receive calls and text messages on your home number for banking OTPs, work contacts, and family, while routing all data through the cheaper travel plan. You control which line handles calls, texts, and data in your phone settings.
Key device checks before travel:
eSIM support. Verify your phone model and OS version allow eSIM installation. Newer iPhones (XS/XR and later) and many flagship Androids support it. Budget and older phones often don’t.
Carrier unlock status. If your phone is locked to a specific carrier, it won’t accept foreign SIMs or eSIMs from other providers. Contact your carrier to unlock it before departure.
Network band compatibility. Some countries use different LTE or 5G frequency bands. Most modern phones are multi-band, but rural or remote areas may require specific bands your device doesn’t support.
Multiple eSIM profile slots. Some phones let you store several eSIM profiles at once and switch between them without reinstalling. Useful if you’re visiting several countries in sequence.
Physical SIM tray. If your phone is eSIM-only (like recent U.S. iPhone models), you cannot use a physical local SIM even if you want to.
If your phone lacks eSIM support, your choices narrow to physical SIM or roaming. If your phone is eSIM-only, you must use an eSIM. There’s no physical fallback.
Coverage, Speed, and Network Quality: eSIM vs Local SIM Abroad

Local physical SIMs usually deliver the best coverage and fastest speeds because you’re connecting directly to a domestic carrier’s network. In rural areas, remote towns, or mountainous regions, a local SIM from the dominant national carrier often provides the only reliable signal. If you’re trekking in Nepal or driving through rural Iceland, the local carrier’s SIM will outperform most alternatives.
eSIM providers partner with major carriers in each country, which means your eSIM connects to the same physical towers as a local SIM. But the partnership terms sometimes include speed caps or lower network priority. In some countries, eSIM data is throttled to 3G speeds even when the local network supports 5G. Check the eSIM provider’s coverage map and speed policy before buying. In cities and major tourist areas, the difference is usually unnoticeable. On back roads and small towns, it can matter.
Roaming through your home carrier depends entirely on which foreign networks your carrier has agreements with. You get no control over network selection, and speeds vary widely. In one country you might roam on the top-tier local network. In the next, you’re stuck on a slower regional carrier with patchy rural coverage. If your home carrier doesn’t have a roaming agreement in a particular country, your phone simply won’t connect, or you’ll face extremely high per-megabyte charges with unreliable service.
Real‑World Scenarios: Which Travelers Should Use eSIM vs Local SIM?

Short Tourist Trips
If you’re visiting one or two countries for a week or two, an eSIM is the simplest choice. Install it at home, land with working data, and avoid airport SIM counters entirely. You’ll pay slightly more per gigabyte than a local SIM, but the time saved and stress avoided are worth it. For a typical 7-day trip with moderate data use, a 3–5 GB eSIM plan covers maps, messaging, ride apps, and photo uploads without overages.
Multi‑Country or Transit‑Heavy Travel
Travelers moving between multiple countries benefit most from regional or global eSIMs. One plan covers your entire route. Landing in Amsterdam, taking a train to Berlin, and touring eight countries over two months all stay connected under one prepaid data package. You don’t buy new SIMs at each border, you don’t re-register with new carriers, and you don’t deal with leftover balances. If your itinerary includes short stops or frequent border crossings, an eSIM eliminates repetitive setup friction.
Long‑Term or Slow Travel
If you’re staying in one country for a month or more, a local physical SIM becomes more cost-effective. Monthly plans with large data allowances (20–50 GB) cost far less per gigabyte than eSIM tourist packages. You’ll also get a local phone number, which simplifies booking restaurants, confirming apartment rentals, receiving delivery codes, and handling any local customer-service calls. The upfront friction of visiting a carrier shop and registering pays off over weeks of daily use.
Business or Family Travel
Business travelers who need to keep their home number active for work calls and client contact should use a dual-SIM phone with their home number on one line and a travel eSIM for data on the second. Family travel with multiple devices (phones, tablets, laptops) often benefits from a portable Wi‑Fi hotspot instead of juggling individual SIMs or eSIM plans for every device. If your trip requires reliable voice calls and seamless email access, test your eSIM or SIM setup on home Wi‑Fi before departure to avoid troubleshooting under pressure.
Best-choice summary by scenario:
Short trip (under two weeks): eSIM for instant setup and multi-country coverage.
Long stay (one month or more): local physical SIM for lowest cost and local number.
Multi-country itinerary: regional or global eSIM to avoid border hassles.
Need for local phone number: local physical SIM (eSIMs are often data-only).
Business continuity: dual-SIM setup with home number active and travel eSIM for data.
Troubleshooting and Common Problems When Using eSIMs or Local SIMs Abroad

When your data doesn’t connect on arrival, start with the simplest fixes and work up. Most activation problems stem from settings toggles, not the SIM or eSIM itself.
eSIM not connecting after installation. Confirm the eSIM profile is turned on in your mobile settings and selected as the active data line. Toggle airplane mode on and off, then restart your phone. If still offline, check if the eSIM requires data roaming enabled even though it’s a prepaid plan. Some do.
Physical SIM shows no signal. Verify the SIM is seated correctly in the tray (it’s easy to insert it slightly crooked). Restart your phone at least twice. If the carrier name appears but data doesn’t work, you may need to manually enter APN settings. Search the carrier’s name plus “APN” and input the settings under mobile network configuration.
Device says eSIM is incompatible or won’t install. Your phone may not support eSIM, or the eSIM profile may be locked to a different device. Double-check your phone model’s eSIM support and verify you’re scanning the correct QR code for your specific purchase.
Passport or ID registration required but not completed. Many countries legally require SIM registration. If your local SIM isn’t working and you skipped registration, return to the shop or kiosk to complete it. Without registration, the SIM may work briefly then deactivate.
Data works but speed is unusably slow. Check if your eSIM or roaming plan includes speed throttling (some cap at 3G). Verify you’re not in a remote area with weak signal. Restart your phone and test again in a different location.
Roaming charges appearing despite using an eSIM or local SIM. Confirm your home carrier’s SIM or eSIM is turned off for data. On dual-SIM phones, explicitly select the travel line for data in settings. If roaming was left enabled on your home line, accidental data usage racks up charges fast.
Leftover balance or plan expires before trip ends. Local prepaid SIMs often expire within 7 to 30 days, and unused data disappears. If you’re extending your stay, plan to top up or buy a new plan mid-trip. Some eSIM providers let unused data roll over if you return within the validity window, but always check the policy before assuming it carries forward.
Being offline on arrival costs time, money, and stress. If your ride app won’t load, your hotel address won’t map, and you can’t message your host, a $20 mistake becomes a $100 taxi ride and a wasted hour. Test your eSIM or SIM setup before you need it, keep your activation QR code or account credentials saved offline, and always have a backup payment method in case you need to buy emergency data on the spot.
Final Words
Choosing between eSIM and a local SIM? Start with simple rules: eSIMs work best for short trips and multi-country travel; local SIMs make more sense for long stays or when you need a local number. We walked through activation steps, setup friction, cost tradeoffs, device checks, coverage differences, and troubleshooting.
Use the checklists and rules of thumb here and you’ll be able to pick and set up the right option before you go.
Use this guide to decide how to use eSIM versus local SIM when traveling abroad and stay connected with less hassle.
FAQ
Q: Is it better to get an eSIM or physical SIM when travelling?
A: Choosing an eSIM or physical SIM when travelling depends on trip length and needs. Prefer eSIM for short or multi‑country trips and quick setup, and choose a local SIM for long stays, local numbers, or better rural coverage.
Q: Does Honor 400 Pro support eSIM?
A: Whether the Honor 400 Pro supports eSIM depends on model and region. Check the official specs or Settings > Cellular > Add eSIM, or the product page for LTE/eSIM support before buying.
Q: Do you turn off your primary SIM when using an eSIM?
A: You don’t have to turn off your primary SIM when using an eSIM. Use dual‑SIM settings to choose which line handles data and calls, and disable the primary to avoid roaming charges or conflicts.
Q: What is the disadvantage of having eSIM?
A: The main disadvantage of eSIM is limited device support and harder physical swapping. Other downsides include carrier restrictions, possible speed caps, and that some countries still require a registered physical SIM.