
Think planning a trip should be spontaneous? That’s why half of travelers end up rebooking flights or losing days to paperwork.
This post gives a clear, seven-step framework that takes you from “I want to go” to wheels up without wasted time or surprises.
Follow the steps in order. First define purpose, compare destinations, set a budget, build a timeline, book transport and lodging, plan activities, then finalize documents and packing.
You’ll stop backtracking, dodge visa and timing traps, and finish planning in a few focused sessions.
Core Framework for Planning an Efficient Trip

You’re going to get a complete, repeatable method that takes you from “I want to go somewhere” to wheels up without wasting time on guesswork or backtracking.
A structured sequence prevents expensive mistakes, saves hours of duplicate research, and keeps you from missing time-sensitive requirements like passport renewals or visa applications. When you follow a clear order, you avoid rebooking flights because you forgot to check visa processing times. Or scrambling to find lodging in sold-out neighborhoods because you picked your dates before checking climate. Each step builds on the one before it, so nothing falls through the cracks.
- Define trip purpose and constraints
- Research destinations and compare options
- Build a realistic budget
- Create a travel timeline
- Book transportation and lodging
- Plan daily activities
- Finalize documents, packing, and contingencies
This framework applies whether you’re planning a weekend city break, a two week vacation, or a multi month trip across continents. The same seven step sequence works for solo travelers, families, and group trips. The depth of each step scales with trip complexity, but the order stays the same.
Following the steps in sequence is what creates efficiency. Booking transport before you’ve confirmed visa eligibility wastes money on change fees. Building an itinerary before you know your budget? You’re setting yourself up for disappointment or overspending. Sequence matters because later steps depend on decisions made in earlier ones.
Researching and Comparing Destinations
Start by reviewing four make or break factors before you fall in love with a destination. Weather during your travel window. Realistic daily costs. Current safety conditions. And visa requirements with processing times. If any single factor is a dealbreaker, you’ve saved yourself hours of unnecessary planning.
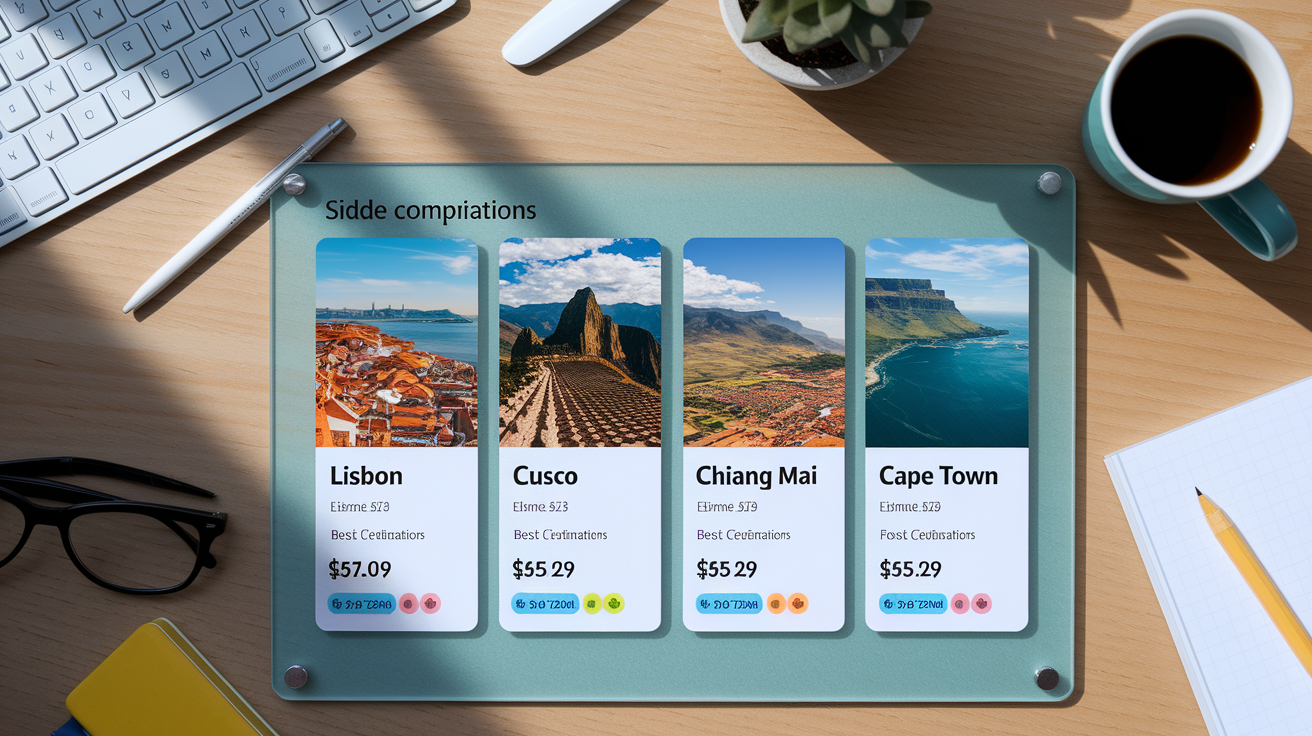
Compare three to five candidate destinations side by side using a simple table format. List each destination, estimate total trip cost based on public cost of living data and airfare searches, identify the best travel season, and note key considerations like visa on arrival rules, vaccination requirements, or language barriers. This comparison takes about 30 minutes and prevents buyer’s remorse later.
| Destination | Estimated Cost | Best Travel Season | Key Considerations |
|---|---|---|---|
| Lisbon, Portugal | $1,800 | April–June, September–October | No visa for 90 days, English widely spoken |
| Cusco, Peru | $2,200 | May–September (dry season) | Altitude adjustment needed, Spanish helpful |
| Chiang Mai, Thailand | $1,500 | November–February (cool season) | Visa on arrival, low English outside tourist areas |
| Cape Town, South Africa | $2,500 | November–March (summer) | No visa for 90 days, long flight from North America |
Select your final destination using weighted priorities. If budget is your top constraint, pick the lowest cost option that still meets your trip purpose. If you need warm weather in February, eliminate destinations in their rainy or cold season. If visa processing takes four weeks and you’re booking six weeks out, rule out any destination requiring consular visits. This method turns a decision that drags on for days into a 15 minute choice.
Building and Allocating a Realistic Travel Budget

Fixed costs are amounts you pay once regardless of trip length. Airfare, travel insurance, visa fees, required vaccinations. Variable costs scale with the number of days you’re away. Lodging, food, local transport, daily activities. Separating these two categories shows you exactly where cutting one day affects total cost and where it doesn’t.
Break your budget into six line items:
- Airfare
- Lodging
- Food
- Activity fees
- Transportation (rental cars, taxis, metro passes)
- Emergency buffer (10–15% of total budget)
Estimate each category using current prices from booking sites, cost of living indexes like Numbeo, and recent trip reports from travel blogs. For airfare, run a quick search on Google Flights using flexible dates. For lodging, check nightly rates on your preferred platform and multiply by trip nights. For food, use Numbeo’s average meal cost and multiply by three meals per day, then add 20% if you plan to eat at higher end restaurants. For activities, list your must do experiences and add up entrance fees, tour costs, and any gear rentals. Local transport estimates come from city transit websites or rideshare fare calculators.
Validate the final budget against your bank account and any payment limits. If your total exceeds what you can comfortably spend, trim variable costs first. Shorten the trip by one or two days, pick less expensive lodging, or reduce the number of paid activities. If the gap is still too wide, revisit your destination comparison table and pick a lower cost option. A realistic budget you can actually afford prevents mid trip stress and credit card surprises three weeks after you return.
Booking Logistics: Transport, Lodging, and Time Sequencing

Book in this order. Transportation first, then lodging, then activities. Flights and long distance trains lock in your arrival and departure dates, so those come before anything else. Once you know when you’ll be in each city, book lodging based on neighborhood research and proximity to your planned activities. Activities get booked last because some require specific dates and you need lodging addresses for tour pickup confirmations.
Track prices early and pull the trigger when you hit a threshold. Set up fare alerts on Google Flights or Kayak as soon as you pick a destination. For most international flights, book two to three months ahead for the best balance of price and schedule flexibility. For peak season travel (summer in Europe, winter holidays anywhere), book four to five months out because lodging in central neighborhoods sells out early. Use your destination research to identify local holidays or festivals that spike prices, and avoid booking during those windows unless attending the event is your trip purpose.
Track five essential pieces of booking data for every reservation:
- Confirmation codes
- Check in times and location addresses
- Cancellation rules and deadlines
- Transport departure and arrival schedules
- Contact phone numbers for each provider
Sync all bookings into a single timeline using a spreadsheet or a trip planning app. List each day of the trip in one column, then add rows for lodging check in and check out, transport departure times, and any pre booked activity start times. This unified view shows you where schedule conflicts exist. Like a 6 a.m. flight on the same morning as a late checkout. And gives you time to fix them before you’re standing in a hotel lobby at 4 a.m. with your bags.
Practical Tools: Templates, Checklists, and Planning Sheets

Templates cut planning time in half because they give you a structure to fill in instead of forcing you to build one from scratch every trip. A good template also acts as a checklist, so you don’t forget essentials like copying your passport or confirming your hotel has your arrival time.
Use these five core templates:
- Packing checklist (split by clothing, documents, electronics, toiletries, medications)
- Budget tracker sheet (income, fixed costs, variable costs, running total)
- Itinerary template (day, location, lodging, transport, activities, meals)
- Booking record sheet (service type, provider, confirmation code, cost, cancellation terms)
- Pre departure requirements list (passport validity, visas, vaccines, insurance, home prep)
Customize templates for different trip lengths by adjusting detail level. A weekend trip needs a simple one page itinerary and a short packing list. A two week trip benefits from a day by day itinerary spreadsheet and a detailed budget tracker that breaks out costs by city. A multi month journey requires a master itinerary with separate tabs for each country, a packing list that accounts for climate changes, and a budget sheet with weekly spending targets to keep you on track.
Example Scenario: Applying the Framework to a Real Trip

Meet Sarah, planning a five day trip to Lisbon with a hard budget of $1,500 and a mid October travel window. She’s never been to Portugal, wants to see historic neighborhoods and try local food, and she’s traveling solo.
She starts by comparing Lisbon against Porto and Seville. Lisbon wins because October weather is mild, the city is compact enough for a short trip, and her $1,500 budget covers airfare ($600), four nights of lodging ($400), food and activities ($400), and keeps a $100 buffer. Porto would need an extra day to see properly. And Seville is hotter in October than she prefers.
Sarah books a mid week flight to save $80 compared to weekend travel, then reserves an Airbnb in Alfama because it’s central and walkable to most attractions. She builds a loose itinerary with three must do items. Belém Tower, a fado dinner, and a day trip to Sintra. She leaves two days open for wandering and eating. She uses a packing checklist to confirm she has a power adapter, comfortable walking shoes, and a printout of her lodging confirmation. She finishes in four hours spread over two evenings, and nothing gets forgotten or double booked.
By following the framework step by step, Sarah avoided the common trap of booking a cheap flight to a city she hadn’t researched, only to discover later that her budget wouldn’t stretch far enough or that October wasn’t a good time to visit. She spent less time planning and more time confident her trip would work.
Visual Workflow Diagrams for Faster Planning
Flow diagrams reduce cognitive load by showing the entire planning process on one page. When you can see each step and how it connects to the next, you stop second guessing whether you’re working in the right order or skipping something important.
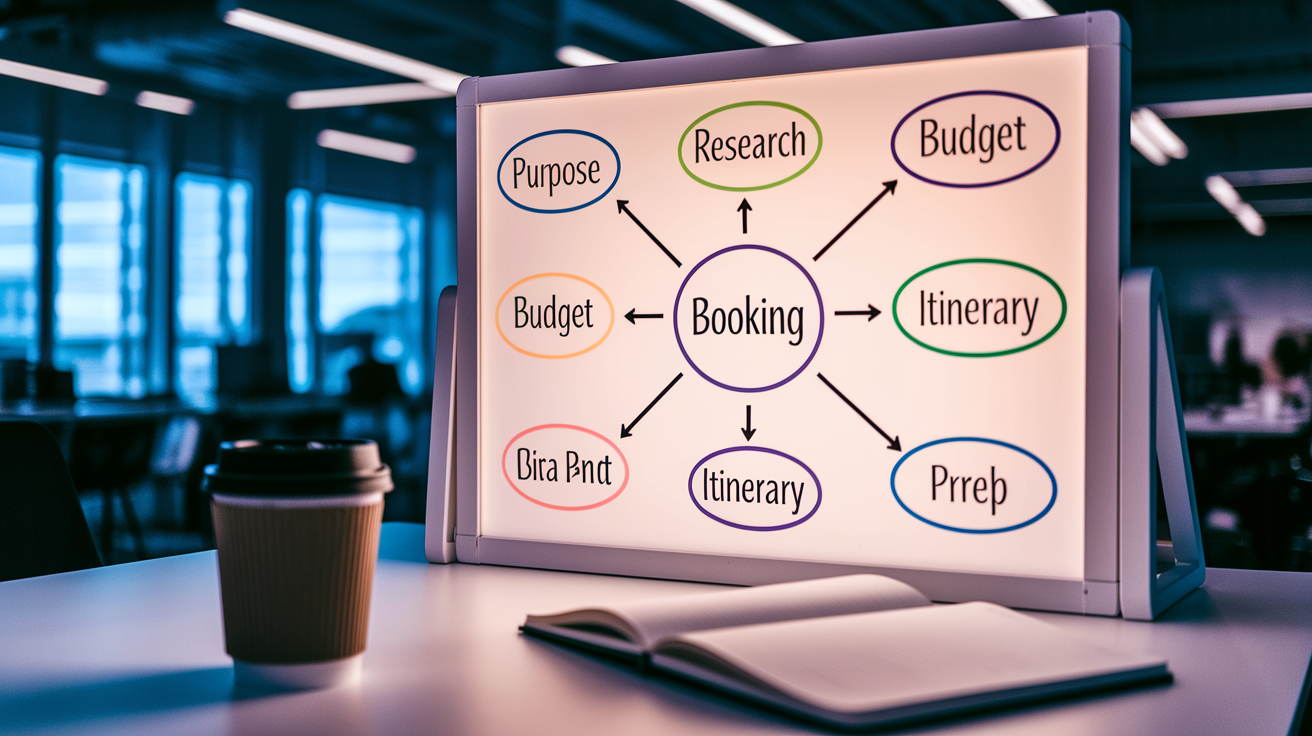
Picture a linear workflow with six connected nodes. Purpose, Research, Budget, Booking, Itinerary, Final Prep. Each node represents one major planning phase. Arrows between nodes show dependencies. You can’t set a realistic budget until you’ve researched destination costs, and you can’t build an itinerary until you’ve booked lodging and know where you’ll be each night. This simple visual makes it obvious that jumping straight to booking before you’ve researched visa timelines is a mistake.
Recreate this diagram on paper or in a notes app by drawing six boxes in a row and labeling them with the six planning phases. Add a short checklist under each box with two or three specific tasks. Under “Research,” write “check visa rules” and “compare costs.” Under “Booking,” write “confirm cancellation terms” and “save confirmation codes.” Keep the diagram open on your screen or pinned to your wall while you plan, and check off tasks as you finish them. This turns an abstract process into a concrete to do system that keeps you moving forward without spinning in circles.
Final Words
Jump straight into action: follow the 7-step system—purpose, research, budget, timeline, book, plan days, finalize—to stop rework and last-minute stress.
Use the templates and the visual workflow to save time. Compare 3 to 5 destinations, build a realistic budget, and sequence bookings so nothing overlaps.
If you use this step-by-step efficient trip planning framework, you’ll plan faster, pack smarter, and handle surprises calmly. Simple, repeatable, and ready to use—go plan with confidence.
FAQ
Q: What is the step-by-step planning system for an efficient trip?
A: The step-by-step planning system for an efficient trip is a seven-step framework: define purpose and constraints, research destinations, build a budget, create a timeline, book transport and lodging, plan daily activities, finalize documents and packing.
Q: How does a structured sequence avoid mistakes and wasted effort?
A: A structured sequence avoids mistakes and wasted effort by forcing decisions in order, preventing repeated work, missed costs, and overlapping tasks; follow each step so research, budgeting, and booking stay separate and clear.
Q: How should I compare and pick between 3–5 candidate destinations?
A: To compare 3–5 candidate destinations, evaluate weather, cost, safety, visa rules, and best season, score each by your priorities, then pick the destination with the highest weighted score.
Q: What are the key steps to build a realistic travel budget?
A: The key steps to build a realistic travel budget are separating fixed costs like airfare and lodging from variable costs like food and activities, estimating six categories, and validating totals against your financial limits.
Q: When should I book transportation, lodging, and activities for best timing?
A: You should book transportation first, then lodging, then activities; use price-tracking tools and seasonal trends to time purchases and then add confirmations to a single travel timeline.
Q: What booking details should I track?
A: You should track confirmation codes, check-in times, cancellation rules, transport schedules, and full address details; keep everything in one booking record sheet for quick reference.
Q: Which templates and checklists speed up planning and what should they include?
A: Templates speed planning by standardizing tasks; use a packing checklist, budget tracker, itinerary template, booking record sheet, and pre-departure requirements list, then customize by trip length.
Q: How do I apply the framework to a short, limited-budget trip?
A: You apply the framework to a short, limited-budget trip by prioritizing purpose, narrowing destinations, using a tight budget, booking early low-cost options, and planning a compact daily itinerary.
Q: How do visual workflow diagrams help and how can I recreate one?
A: Visual workflow diagrams help by reducing cognitive load; recreate a simple linear diagram with nodes: Purpose to Research to Budget to Booking to Itinerary to Final Prep, then adapt it to your priorities.